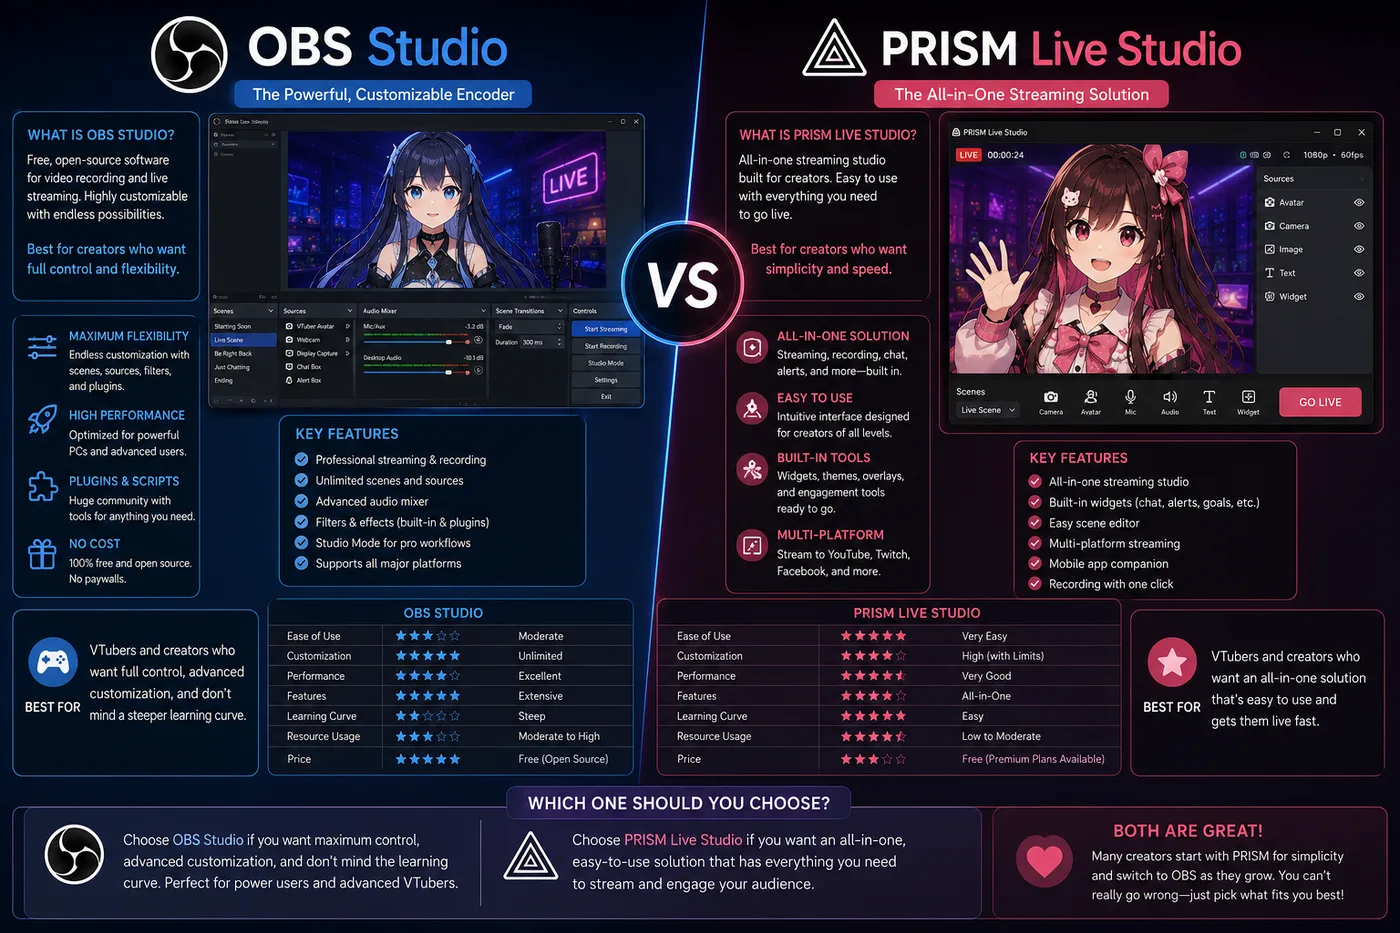
What Twitch and VTuber overlays are (and what they are not)
Think in layers: (1) base game capture or background, (2) avatar window from VTube Studio,
VSeeFace, or a PNGTuber (transparent), (3) overlay PNGs and static UI, (4) dynamic widgets—
chat, alerts, labels—usually browser sources, (5) audio (alerts often have sound). A Twitch overlay with chat sits in layer 4: chat is live HTML; the frame around
it is usually a PNG from the same theme.
Overlays do not replace good audio or a clear content hook. They make a competent stream legible. Chat that is too small, alerts that cover the boss bar, and a facecam frame
that crops Live2D ears are layout problems overlays are supposed to solve—not create.
Separately, searchers who say Steam overlays often mean Valve’s Shift+Tab
client UI, not your OBS brand—covered later in this same guide.
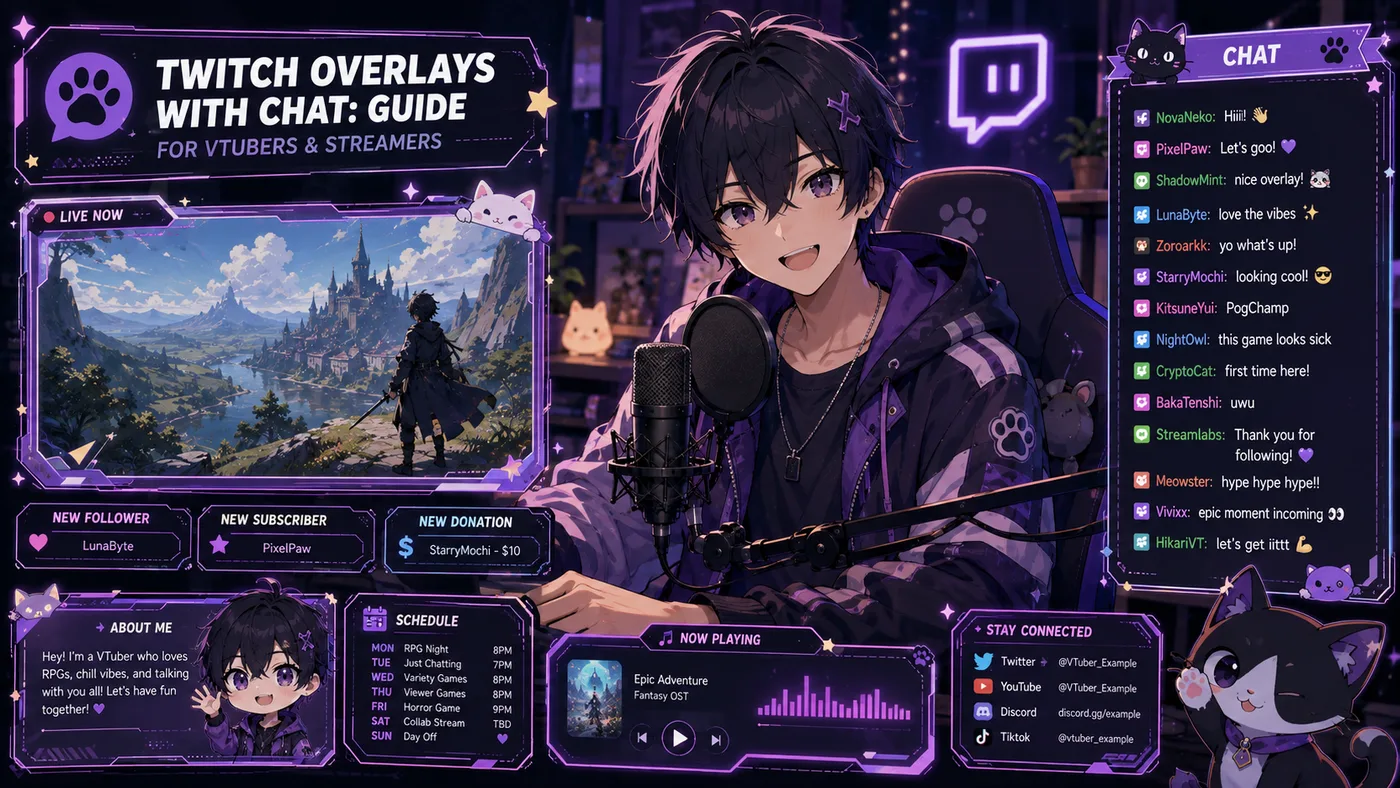
The parts of a typical overlay kit
Most packs you download—free or paid—bundle some subset of this list. For VTubers, the avatar frame and Twitch overlay with chat matter first.
Alerts second. Fancy stingers third. Debut night with no chat box forces viewers to open
pop-out chat or squint at unstyled text—both hurt retention.
| Asset | Job on stream |
|---|
| Webcam / avatar frame | Border around your model or facecam |
| Chat box | Styled area for Twitch chat (frame + browser source) |
| Alert box | Follow, sub, cheer, raid animations |
| Stream screens | Starting soon, BRB, ending |
| Panels | Offline Twitch panels (About, PC specs, links)—not OBS, but same artist |
| Stinger / transition | Short wipe between scenes |
| Labels | Recent sub, goal bar, social ticker |
Twitch overlay with chat: browser vs docked + OBS setup
Twitch overlay with chat is a specific intent. Searchers already have a game
and maybe a model; they need chat to look like it belongs on the stream. That usually means a
transparent PNG (or PSD) with a cutout for chat, a browser source underneath showing
StreamElements, Streamlabs, or custom HTML, and font/scroll speed readable at 1080p scaled to
mobile. Confirm the listing includes a chat box sized for 16:9 at 1920×1080
(the OBS default most artists assume).
Browser chat vs docked Twitch chat
You can run Twitch chat inside OBS without a themed box—Dock panels work for you, not
for the broadcast. Viewers see only what is in your scene. A Twitch overlay with chat means
chat is a Browser Source in the scene, styled to match the frame.
- StreamElements — free overlay themes and chat widgets
- Streamlabs — similar; check CPU use if you already run a heavy avatar
- Custom HTML — maximum control; more setup
Place the browser source under the PNG frame (or use a mask). Match width and height
to the artist’s template. A one-pixel mismatch shows ugly gaps on stream.
How to set up a Twitch overlay with chat in OBS
These steps assume OBS Studio and a two-file kit: chatbox.png and a widget URL
from your alert provider.
- Create a scene (e.g. “Live VTuber”) with game capture and avatar sources already placed.
-
Add Browser Source for chat. Paste the widget URL. Set width/height to match the artist’s
chat area (often ~400×700; varies).
- Add Image Source for the chat frame PNG. Position it over the browser source edges.
- Crop or pad until text sits inside the transparent window of the frame.
- Add webcam/avatar frame PNG if the pack includes one—separate source from chat.
- Lock sources once aligned so drag accidents do not happen mid-stream.
-
Duplicate scene for “Chatting” vs “Gaming” if you need a larger chat layout for Just
Chatting.
For alerts, add another browser source (StreamElements/Streamlabs alert box URL) in the agreed
alert zone. Keep alert duration short; VTuber reactions already compete for attention. If you
use VTube Studio, capture the avatar as Game Capture or Window Capture with
transparency enabled. Most debut layouts keep the avatar on top of the game
and tuck UI chrome around it. Full encoder and tracking context lives in the VTuber software guide.
VTuber layouts vs gaming overlays + a sample 1080p layout
Standard gaming overlays assume a small rectangle facecam in a corner. VTuber
streams often use half a side or a large bottom-third for a
Live2D or 3D model. Before you install a free Twitch overlay with chat, check avatar footprint
(will the frame hide horns, hair, or a tail?), put chat on the opposite side from the model,
keep overlay PNGs from filling the screen opaque by accident, and leave a game safe zone for
HUD-heavy titles. If a pack is built for 250×250 facecam, do not force it onto a 600px-tall
Live2D window—resize in GIMP/Photoshop or pick a VTuber-oriented pack.
A simple VTuber overlay layout (1080p)
- Left or right third — avatar (transparent window capture)
- Opposite lower corner — Twitch overlay with chat (frame + browser source)
- Top or side strip — optional labels (now playing, socials)
- Center — game at native resolution, scaled to fit remaining space
- Alert position — upper center or above chat, not over the model’s face
Test the same scene on your phone via Twitch preview. If chat text is illegible at phone size,
increase font size in the widget settings—not the whole canvas scale.
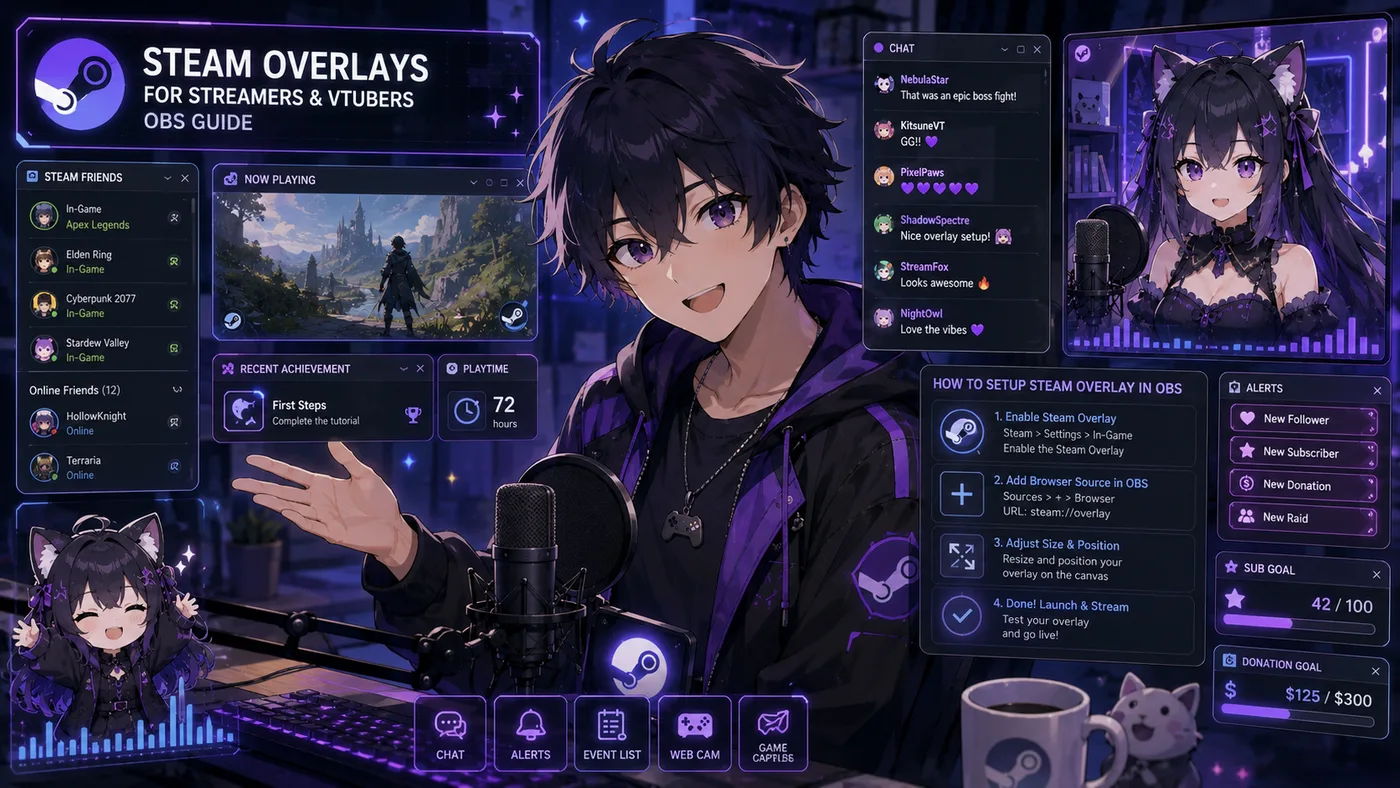
Steam overlays: two meanings, Shift+Tab, capture modes, and when to disable
People searching Steam overlays mix two different things: Valve’s in-game overlay (Shift+Tab friends, browser, achievements) and the stream overlay graphics you build in OBS. Both sit “on top” of a game. Only
one belongs in your VTuber layout.
| Term | What it is | Who controls it |
|---|
| Steam in-game overlay | Shift+Tab UI: friends, DMs, browser, screenshots, controller config | Valve / Steam client |
| Stream overlay (OBS) | Chat, alerts, webcam/avatar frames, labels on your broadcast | You, in OBS Studio |
As a VTuber streaming Steam games, you usually want the Steam overlay on for you (often
minimized)—or disabled if it causes capture bugs—and the OBS overlay as what viewers see.
Confusing the two is how you try to style Twitch chat inside Shift+Tab, or wonder why your PNG
frame never appears when you only toggled Steam Broadcast.
The Steam in-game overlay (Shift+Tab)
Enabled under Steam → Settings → In-Game. Default shortcut: Shift+Tab. It gives friends list and Steam chat, a web browser, screenshot
shortcuts, per-game controller settings, and invite notifications. It is not your stream brand. Viewers on Twitch do not see it unless your capture
method includes it.
Does the Steam overlay appear on stream?
- Game Capture (recommended): usually captures the game surface only—no Steam
overlay on stream in most titles
- Window Capture: may include overlay flashes when Shift+Tab opens
- Display Capture: captures everything on the monitor—including Steam UI,
notifications, desktop clutter
Should you disable it?
Reasons streamers turn the Steam overlay off globally or per game: accidental Shift+Tab during
combat, performance cost on weak PCs already running Live2D + encoding, conflicts with
exclusive fullscreen, and friend-invite pop-ups covering HUD. Toggle globally via Steam → Settings → In-Game → Enable the Steam Overlay while in-game. Per
game: Library → right-click title → Properties → General → disable overlay.
Leave it on for chill single-player; disable for competitive or capture-sensitive titles. Test
with a local OBS recording, not on debut night.
Streaming Steam games with OBS: stack, Broadcast vs OBS, quick pass, performance
When VTubers say they need Steam overlays, they often mean: I play on Steam—what OBS
layout should I use? The game source is Steam; the overlay stack is the same as any PC
stream: Game Capture → transparent avatar window → stream overlay PNGs + browser sources →
audio (desktop + mic + alerts). Steam does not supply the cute chat frame—that comes from your
overlay pack, StreamElements, or a commission.
- Capture the game first, then place the avatar where it does not cover minimap or crosshair
- Chat opposite the avatar—especially for long-session RPGs and roguelikes
- Use Game Capture, not Display Capture, unless you have a specific reason
- Add a separate OBS scene per title if HUD safe zones differ wildly
- Check Steam Cloud saves before streaming multiplayer test accounts
Steam Broadcast vs OBS (Twitch / YouTube)
Steam Broadcast is Valve’s built-in streaming to Steam friends or store pages.
It can overlay a webcam and some Steam chat—not a full VTuber OBS scene. Most VTubers treat it
as a casual co-op option. Debut layouts and growth loops still assume OBS → platform (
how to become a VTuber).
| Feature | Steam Broadcast | OBS + Twitch/YouTube |
|---|
| Avatar (Live2D/VRM) | Limited / webcam-first | Full transparent capture |
| Custom chat frame | Basic Steam UI | Browser source + PNG frames |
| Alerts (subs, bits) | No | StreamElements, Streamlabs, etc. |
| Multistream | Steam-centric | Restream, dual outputs, etc. |
| VOD / clips | Steam-focused | Platform-native |
Steam + avatar apps + OBS together
| App | Role |
|---|
| Steam | Launches the game |
| VTube Studio / VSeeFace | Tracks face, outputs avatar |
| OBS Studio | Composites game + avatar + stream overlays, encodes |
| StreamElements / similar | Chat and alert browser sources |
Common friction: Shift+Tab focus stealing, GPU load from open-world titles + Live2D + encode,
exclusive fullscreen breaking Game Capture until borderless, and rare dual Steam hooks (update
Steam and VTS). Software details: best VTuber software. Avatar app
questions: VTuber app.
Quick OBS pass for a Steam game
- Launch the game from Steam (note borderless vs fullscreen).
- OBS → Game Capture → capture specific window or auto-select.
- Confirm game fills the scene; black bars → adjust resolution or fit.
- Add avatar source (window/game capture with transparency).
- Add stream overlay layers: chat browser + PNG frame, alert box, labels.
- Route audio: desktop for game, mic for voice, monitor alert volume.
- Record 60 seconds locally; watch for overlay flashes, avatar lag, audio desync.
- Go live only after mobile preview looks readable.
- Cap game settings before cap avatar eye candy
- Prefer NVENC / AV1 hardware encode if available
- Close Steam overlay browser tabs—they eat RAM
- Limit OBS browser sources (each chat/alert widget costs CPU)
- Use Game Capture at matched base resolution (often 1920×1080)
If frames drop when Shift+Tab is enabled, disable overlay for that title first before blaming
VTube Studio.
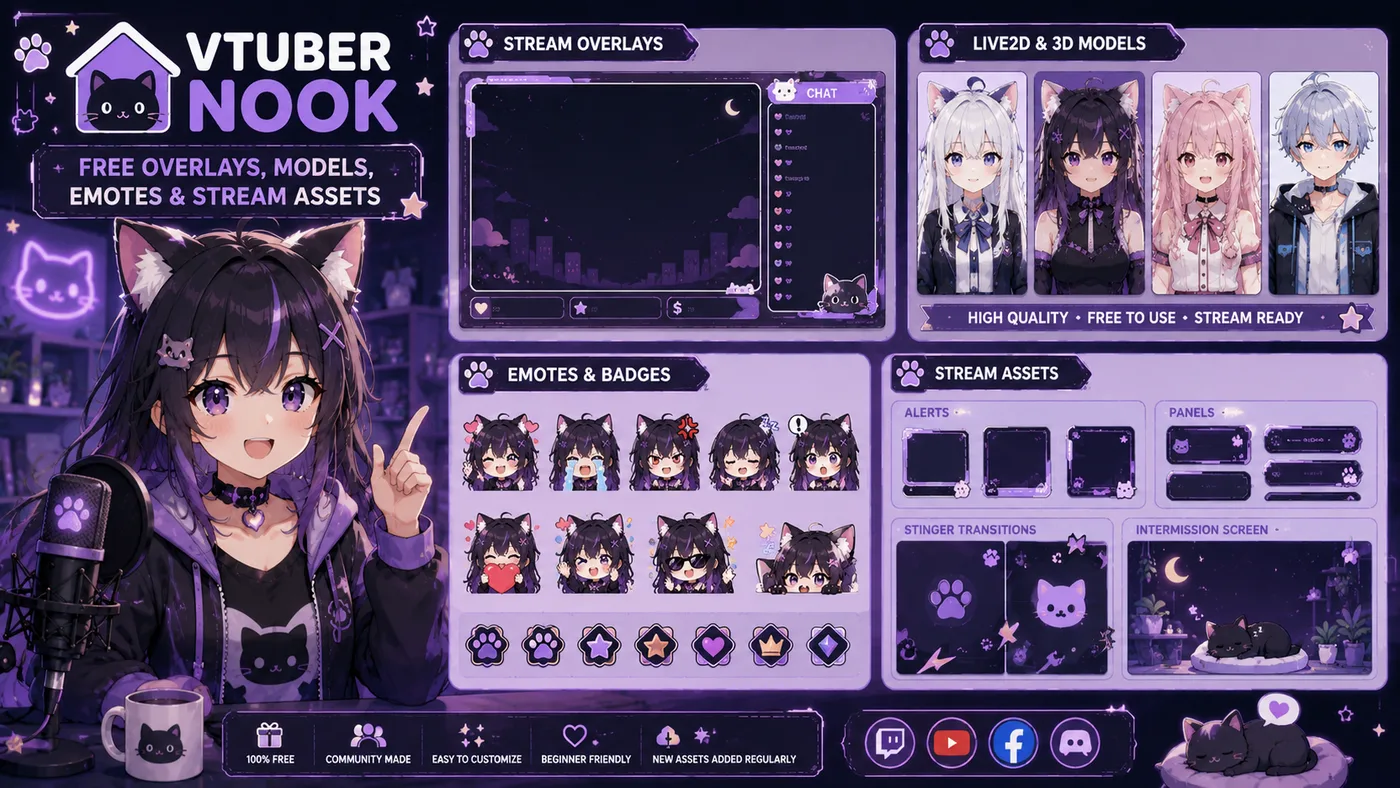
Finding free overlays and VTuber Nook
BeTuber does not host download files. Use author shops and indexes, then verify licenses—the
same rules as free VTuber models: VTuber Nook, Ko-fi / Booth / Gumroad / VGen, and
StreamElements / Streamlabs theme libraries. Paid commissions win when you need a Twitch
overlay with chat matched to your exact model colors. Before monetizing: save the license text
and credit line, confirm commercial streaming is allowed, check “no reupload” / “no recolor”
clauses, and avoid fan IP packs (Hololive clones, game character skins) as your main brand.
What VTuber Nook is
People searching VTuber Nook usually want vtuber-nook.com—a browsable hub of free resources for
VTubers: overlays, alerts, Live2D / 3D / PNGTuber models, emotes, BGM, debut kits, widgets, and
tutorials. It is not a streaming platform and not a Hololive wiki. It is a discovery index so you spend less time digging Discord pins for a first Twitch
layout. Nook’s job is find → open author page → download under that author’s rules.
For licenses, categories, and how it differs from BeTuber’s models directory, read the full VTuber Nook blog guide.
| Category | What you grab |
|---|
| Overlays & alerts | Frames, alert boxes, screen kits |
| Live2D / 3D / PNGTuber models | Avatar files or PNG sets |
| Emotes / stickers / badges | Chat and sub art |
| BGM & SFX | Ambient loops and stingers |
| Debut assets | Schedule cards, reveal templates |
| Panels & banners | About / links art |
| Stream tools & widgets | Chat boxes, scripts, OBS helpers |
| Tutorials | How-tos (e.g. PNGTuber / ToonTuber workflows) |
Free on Nook ≠ free to monetize blindly
Each listing is only as free as the author wrote: personal use only, credit required, no edits /
no NSFW, or fan-made IP that may be free to download and still unsafe to brand your channel on.
Piracy dumps and stolen celebrity meshes are not a “Nook find.” If the person on a directory profile did not license that
face to you, skip it. Before first monetized stream: save license text and download date,
confirm commercial / live rights, credit where required, and match file type → app (Live2D →
VTube Studio-class; VRM → 3D tracker; PNG → PNGTuber + OBS). Adult platforms need the same
clarity—Fansly / OnlyFans.
How to use VTuber Nook without wasting a weekend
- Pick one gap—e.g. overlay pack or first PNGTuber, not twelve themes
- Filter the category, then open the source (Booth / Ko-fi / VGen), not only the Nook blurb
- Prefer original characters over fan-model renames if you want a lasting brand
- Test offline in OBS before debut night
-
Plan an upgrade—shared free faces get confusing once clips travel (
how to become a VTuber)
VTuber Nook vs BeTuber (and vs Reddit)
| Source | Job |
|---|
| VTuber Nook | Browse free stream assets and free model links |
| BeTuber models directory | Wiki-style profiles of public Virtual YouTubers + official links |
| BeTuber free-models guide | License and legality explainer (no file hosting) |
| VTuber Reddit | Discussion, recs, drama—not a curated asset DB |
BeTuber will not host Live2D meshes. Use Nook (and author shops) for downloads; use BeTuber to
understand the scene and find talents’ official channels. Indie debuts also need more than a VTuber app—they need a screen that does not look empty.
That is production infrastructure discussed in best VTuber software, not career lore.
For agency vs indie paths, see agencies vs indie. For the format itself: what is VTubing.
Disambiguation: not AmyNook
AmyNook is a German indie VTuber (strawberry-mouse lore, fanbase “Nookies”). VTuber Nook is the asset site. If search results mix them, check whether you
wanted a stream kit directory or a talent to watch.
Paid vs free: when to upgrade
Free Twitch overlays get you live faster. Paid or custom overlays earn their money when your
model palette does not match any free pack, chat and alerts need to match debut merch and
panels, sponsors or agency branding require consistent HUD rules, or you are tired of viewers
saying “I saw that overlay on three other channels.” You do not need a $200 motion bundle for
week one. You need a readable Twitch overlay with chat, one alert style, and a BRB screen.
Upgrade when chat consistently tells you the layout looks pro—or when you cannot fit chat and
the game on one screen without overlap. Long-term channels usually outgrow shared free faces and shared free overlay packs that half of debut Twitter uses.
Common mistakes + live checklist
Mistakes to avoid
- Chat over the avatar mouth — viewers watch lip sync; respect the lower face zone
- Tiny chat font — fix in widget CSS/settings, not by squinting
- Wrong canvas size — 4K canvas with a 1080p pack stretches frames
- Too many browser sources — each widget costs CPU; avatar tracking already loads the GPU
- Opaque full-screen PNG — accidentally covers the game or transparent avatar
- Expecting Steam overlay to style Twitch chat — Shift+Tab is not your brand
- Display Capture leaks — desktop notifications and Discord flash to viewers
- Friend pop-ups / exclusive fullscreen — black screens, frozen frames, HUD covers mid-subathon
- Treating Nook’s “Free” badge as a commercial license — or streaming fan-made agency/game IP as main brand
- Matching overlay before model / ignoring license — character design should lead; “free overlay” is not always monetized-stream OK
- No offline test / building only on Steam Broadcast — always local-record; main growth uses OBS → Twitch/YouTube
Quick checklist before you go live
- Know whether you mean Shift+Tab or OBS graphics when someone says “Steam overlay”
- Game, avatar, chat, and alerts visible in one glance on a phone preview
- Twitch overlay with chat framed and browser source aligned
- Game Capture tested; Steam overlay behavior confirmed on a local recording
- Overlay disabled on games where it breaks focus or FPS
- Alert sounds not louder than your voice
- BRB and starting soon scenes share the same theme; Twitch panels credit the artist
- Main growth platform uses OBS, not only Steam Broadcast
- Nook/author license saved if you monetize free assets
- Backup scene collection exported (OBS Scene Collection → Export)
What to read next
Twitch overlays are the readable skin of your broadcast—frames, alerts, and
especially a Twitch overlay with chat so messages stay on-brand without hiding your game or
avatar. Steam overlays in search almost always mean the in-game Shift+Tab
layer; VTubers still build OBS stream overlays for what viewers see. VTuber Nook is a practical free-asset directory—use it as a search layer and
enforce each creator’s license.
Debut path: how to become a VTuber · what is VTubing. Avatar stack: VTuber app · best VTuber software. Models and
licenses: VTuber models · free VTuber models. Free asset index: VTuber Nook. Business shape: agencies vs indie.